Image source: Warhorse
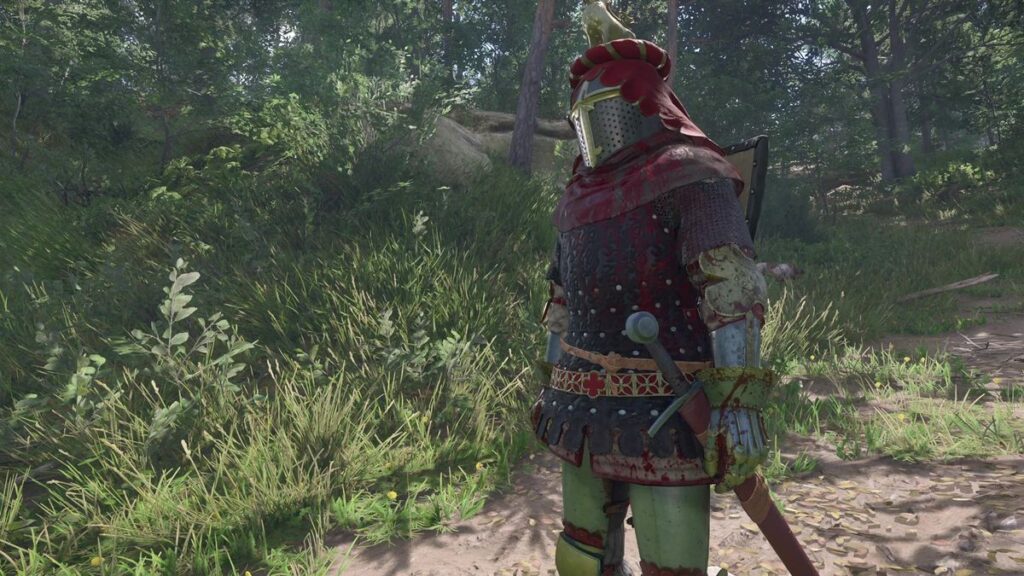
Players who pre-ordered Kingdom Come: Deliverance 2 gain access to an exclusive quest leading to the Lion’s Crest DLC armor, one of the best early-game sets. However, finding each piece takes time and requires exploring nearly every corner of Trosky. If you’re up for the challenge, this guide will walk you through every step to collect the full set.
How to Start the Lion’s Crest DLC Quest
Before hunting down the Lion’s Crest DLC armor in Kingdom Come: Deliverance 2, you must first activate the quest. This content is only available to pre-order players, but you can start as soon as the open world becomes available—right after completing the Laboratores quest.
To begin, visit the scribe in Troskowitz, who will give you a riddle leading to the first treasure. Instead of deciphering it, we’ll jump straight into the locations of each armor piece. Tip: It’s best to start this quest during Back in the Saddle since you’ll get a free horse, making exploration much easier.
Chapel in the Rocks Treasure (Dagger & Gauntlets)
- Location: North of Trosky Castle
- Loot:
- Brunswick’s Dagger
- Brunswick’s Gauntlets
- Fragments from the Bible (Skill Book)
- Brunswick’s Map I (Next clue)
From the main gates of Trosky Castle, ride north past the forest until you reach a steep hill. Head down to find a small cave leading to a hidden chapel. Interact with the chapel to reveal the treasure inside.
Wolves’ Den Treasure (Coif, Plate Legs & Caparison)
- Location: North of Tachov
- Loot:
- Brunswick’s Chainmail Coif
- Brunswick’s Plate Leg Armor
- Brunswick’s Caparison
- Brunswick’s Map II (Next clue)
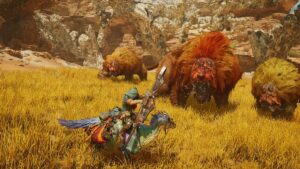
Head north from Tachov and follow the road straight until you reach a fork with a forest to the left. Dismount and walk northwest to find a cliff overlooking a wolves’ den. Defeat the wolves and search between two trees to find a sack containing the armor pieces.
Vidlak Pond’s Treasure (Plate Sleeves)
- Location: East of Tachov, at Vidlak Pond
- Loot:
- Brunswick’s Plate Sleeves
- Brunswick’s Map III (Next clue)
Start at Vidlak Pond, a small settlement with a fast travel point. Head north until you find an outhouse. Walk past it and follow the small path near a fallen log. This leads to a cliff with three crosses—the treasure is beneath the rightmost cross. Be cautious while climbing, as it’s easy to fall. Drink a Saviour Schnapps just in case.
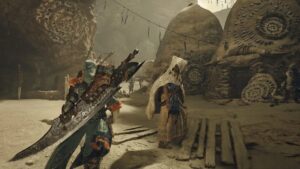
Zhelejov Baths Treasure (Brigandine)
- Location: Near Zhelejov’s bathhouse
- Loot:
- Brunswick’s Brigandine (Plate Armor)
- Brunswick’s Map IV (Final clue)
Head to the Zhelejov bathhouse, cross the first bridge, then the second bridge, and turn right to follow a hidden path. Continue until you find a tree with a skeleton. The treasure is located here, along with a non-quest-related sword.
Nomad’s Camp Treasure (Bascinet – Final Piece)
- Location: Northeast of Nomad’s Camp
- Loot:
- Brunswick’s Bascinet
To reach the Nomad’s Camp, take the southern road from Zhelejov’s bathhouse, turn west past the herbwoman’s cabin, and enter the camp. Walk northeast, past two roads between cliffs, and climb the hill to find a treasure hunter’s camp.
Look for a cairn (rock pile) at the camp’s center. Be prepared for enemies—either fight them or wait until nightfall to take them out silently. Once it’s clear, interact with the cairn to claim the final armor piece.
Is the Lion’s Crest DLC Armor Worth It?
Yes! While it takes time to gather, this armor set is one of the best for the early game. It offers solid protection, high charisma bonuses, and will last until you reach later-game regions with stronger gear. If you want a stylish, powerful armor set that also boosts dialogue success, the Lion’s Crest DLC armor is worth the effort.